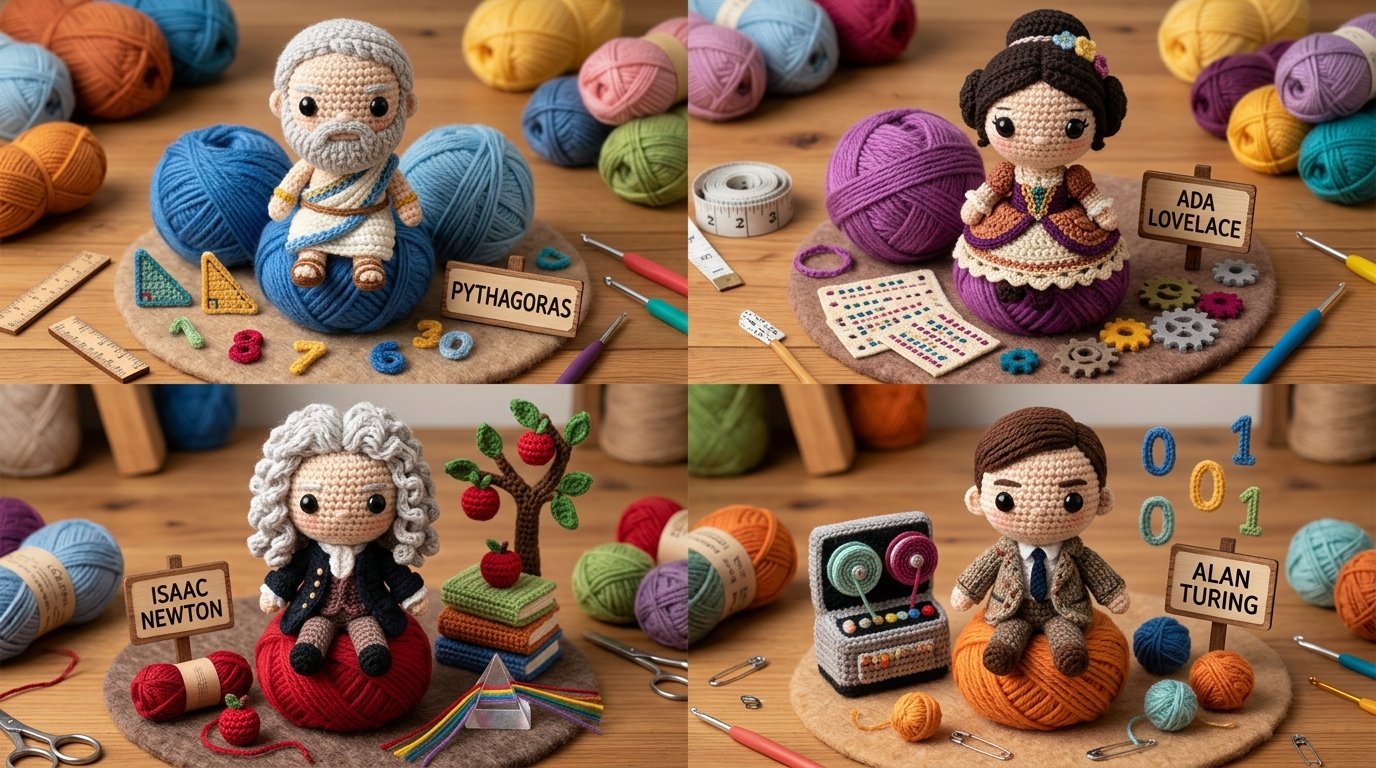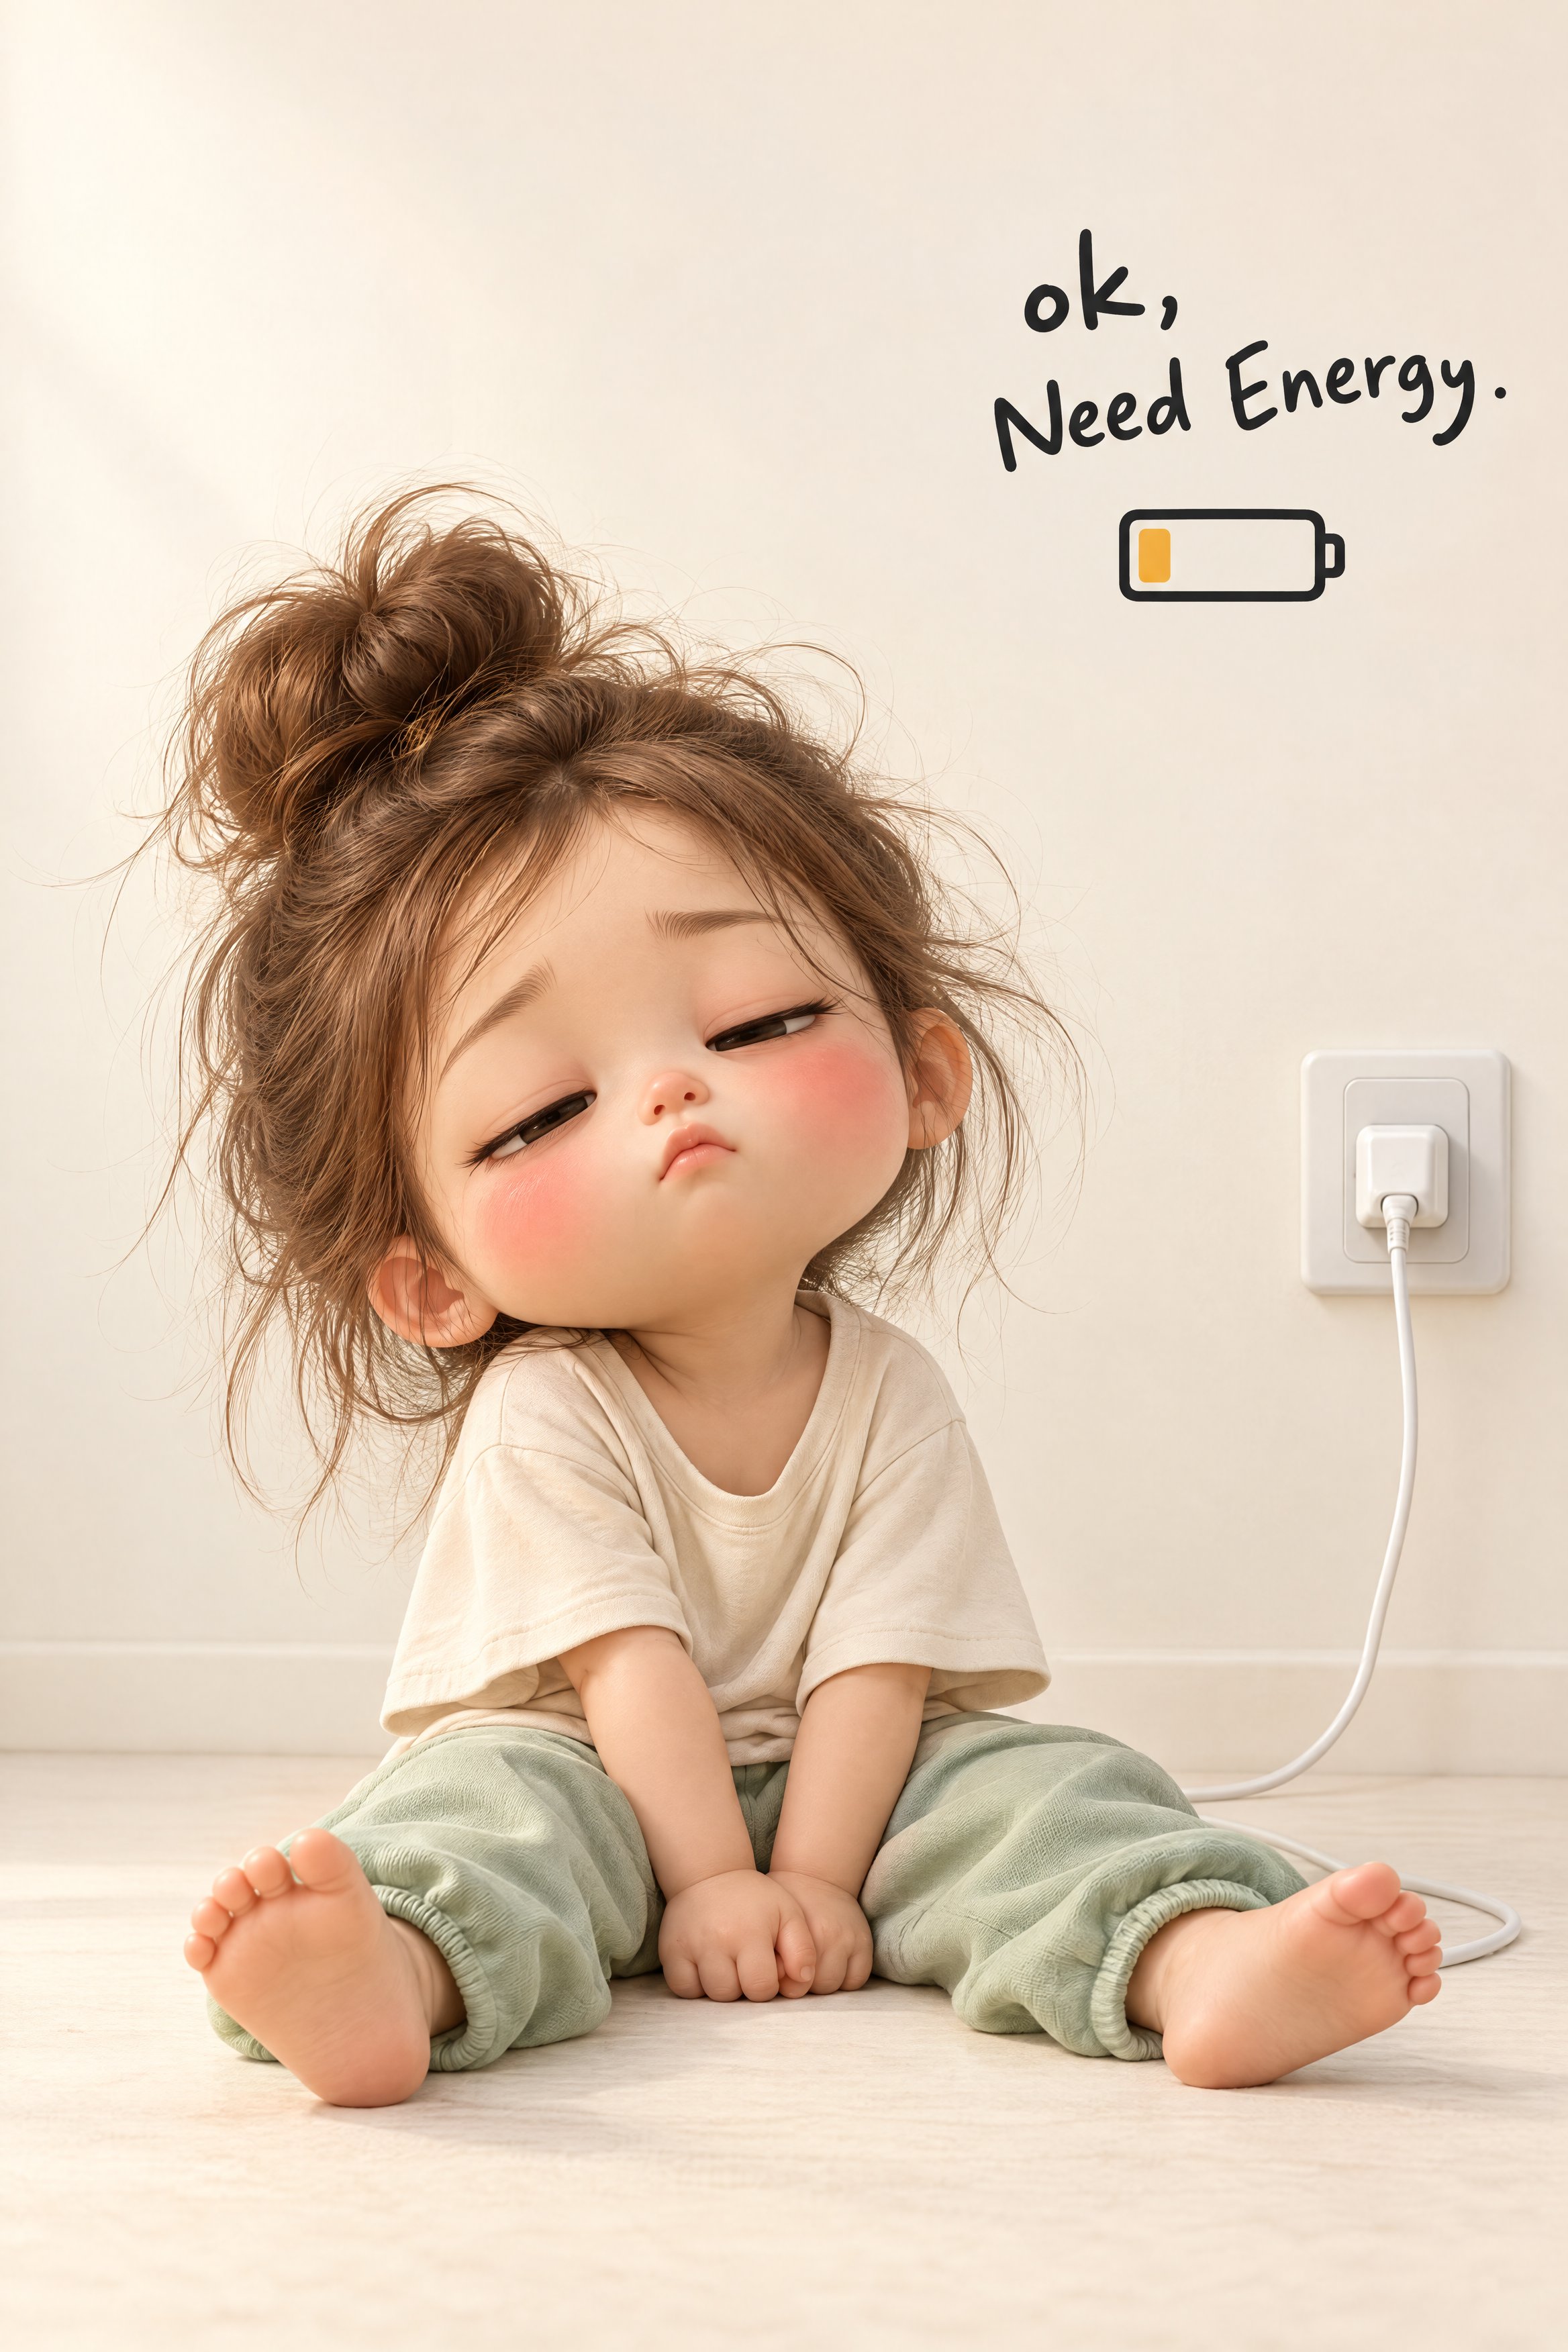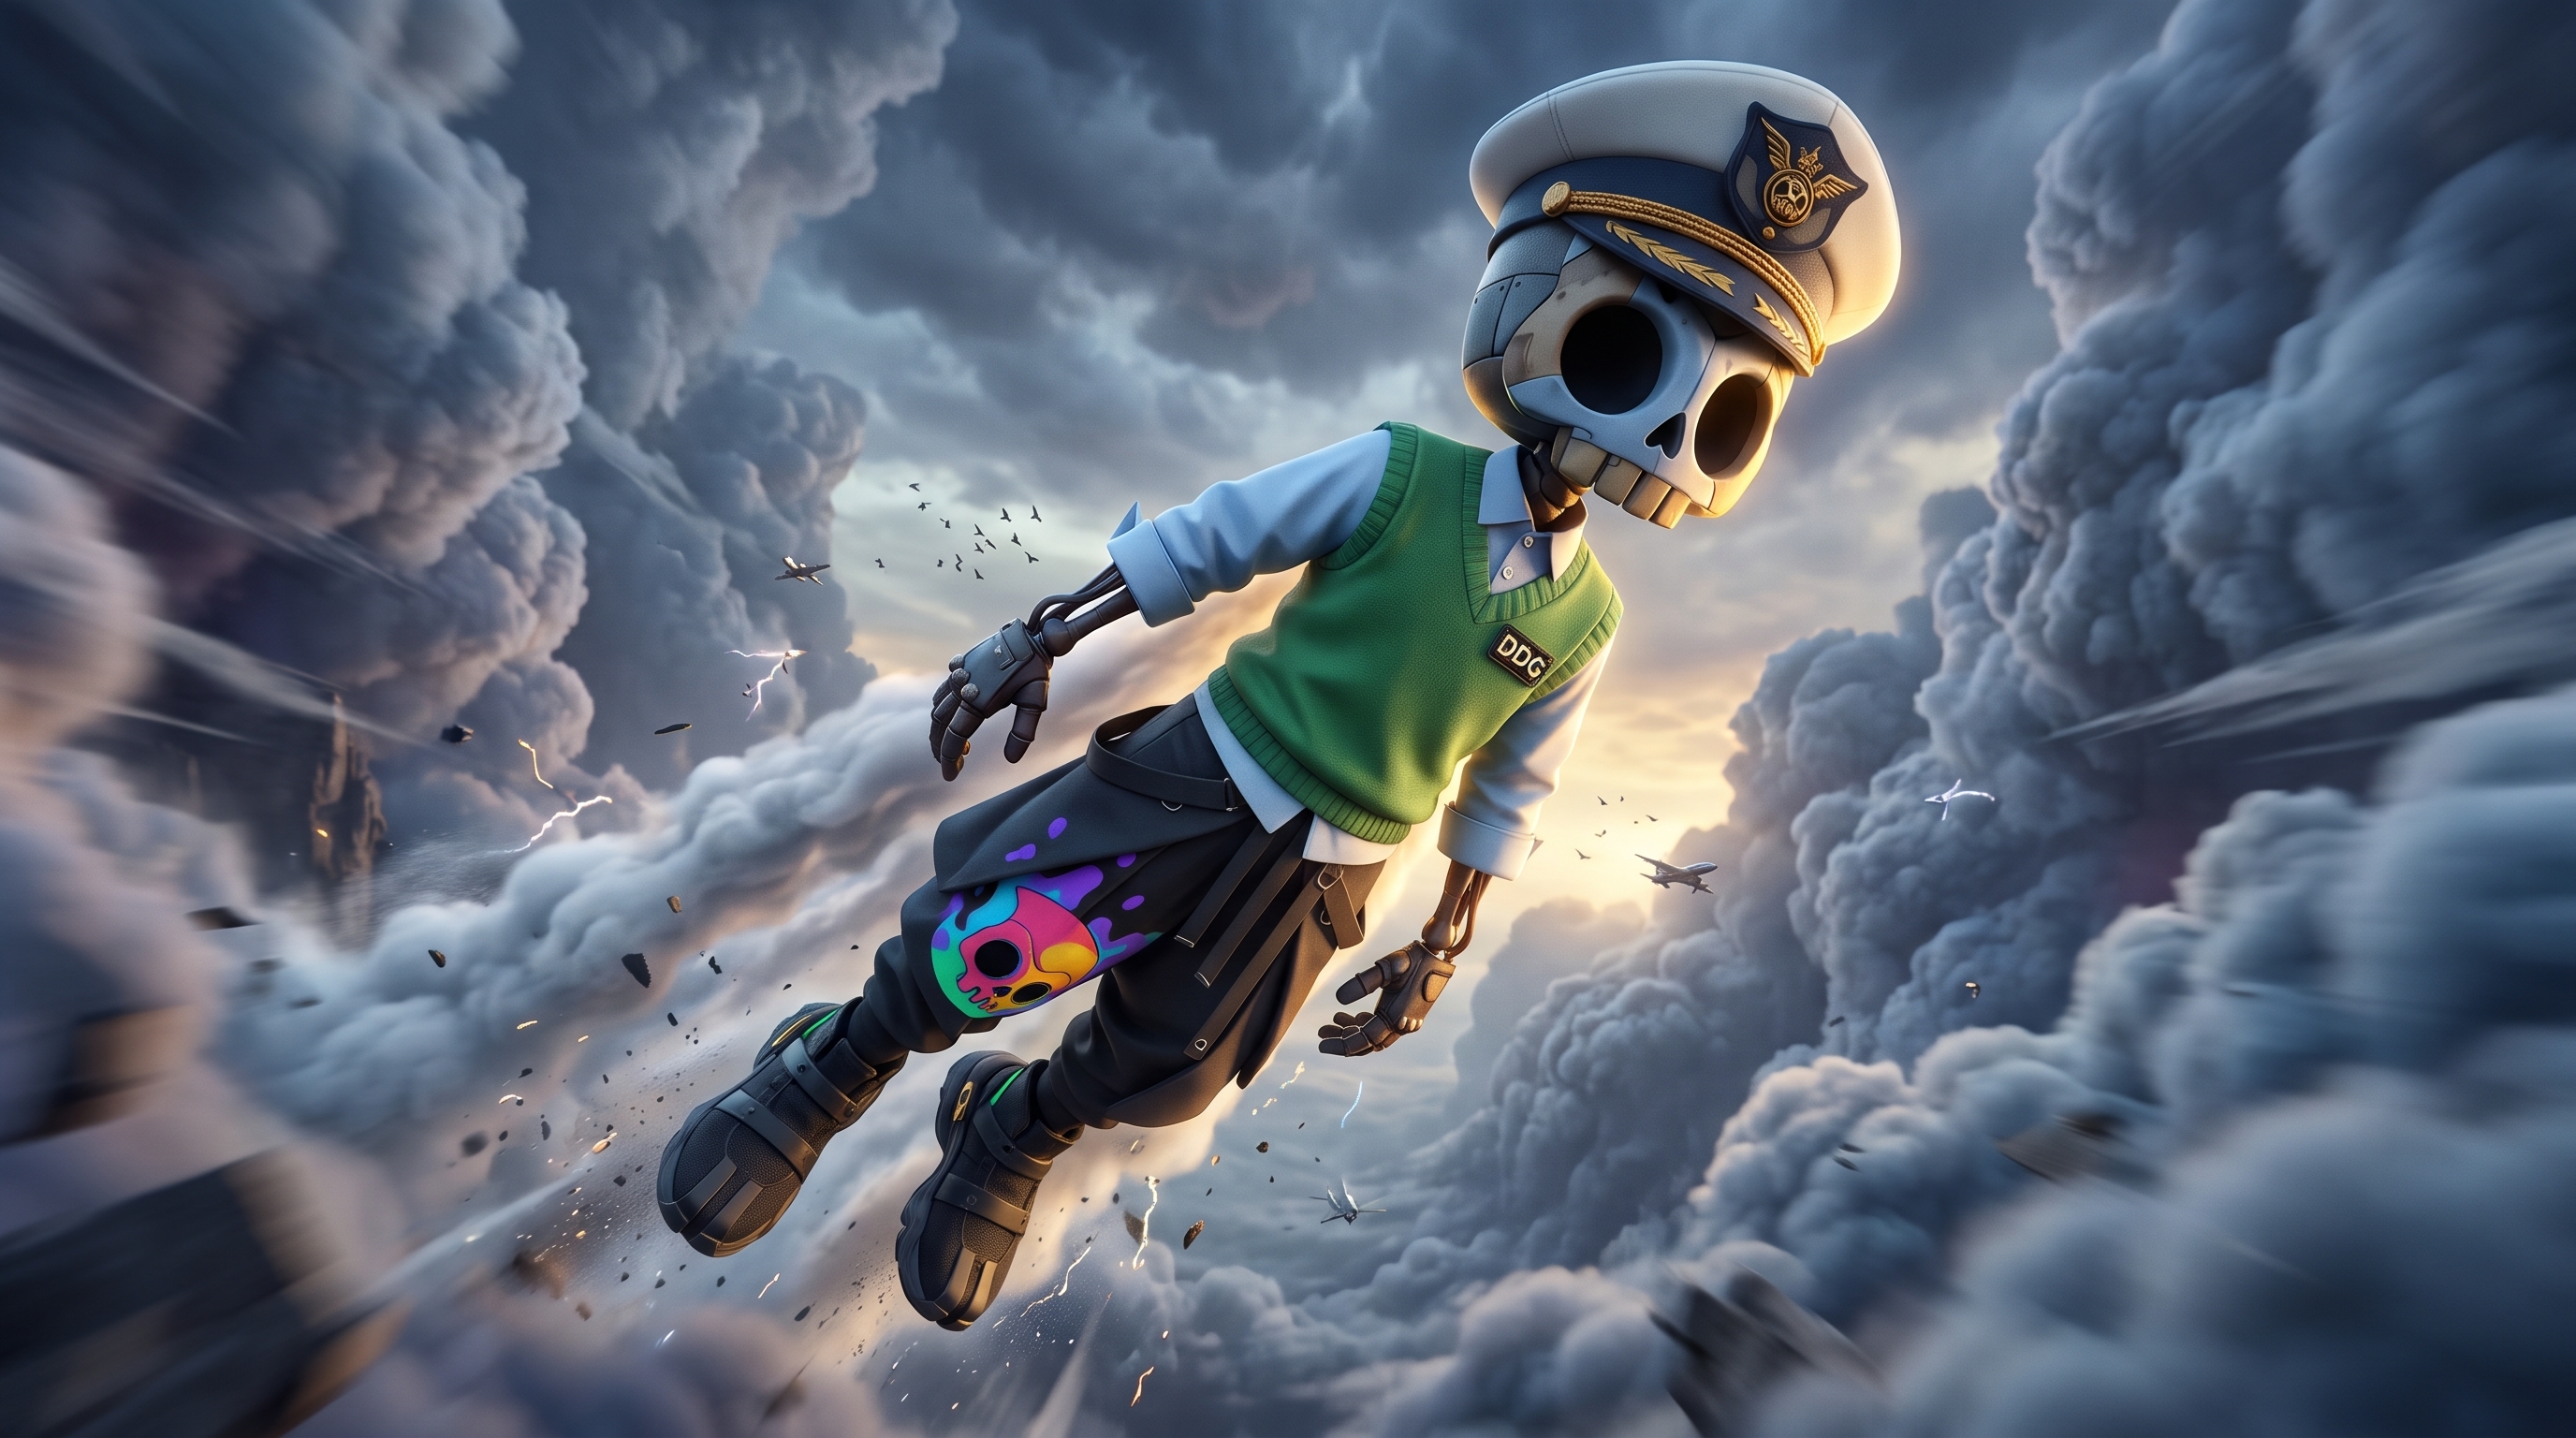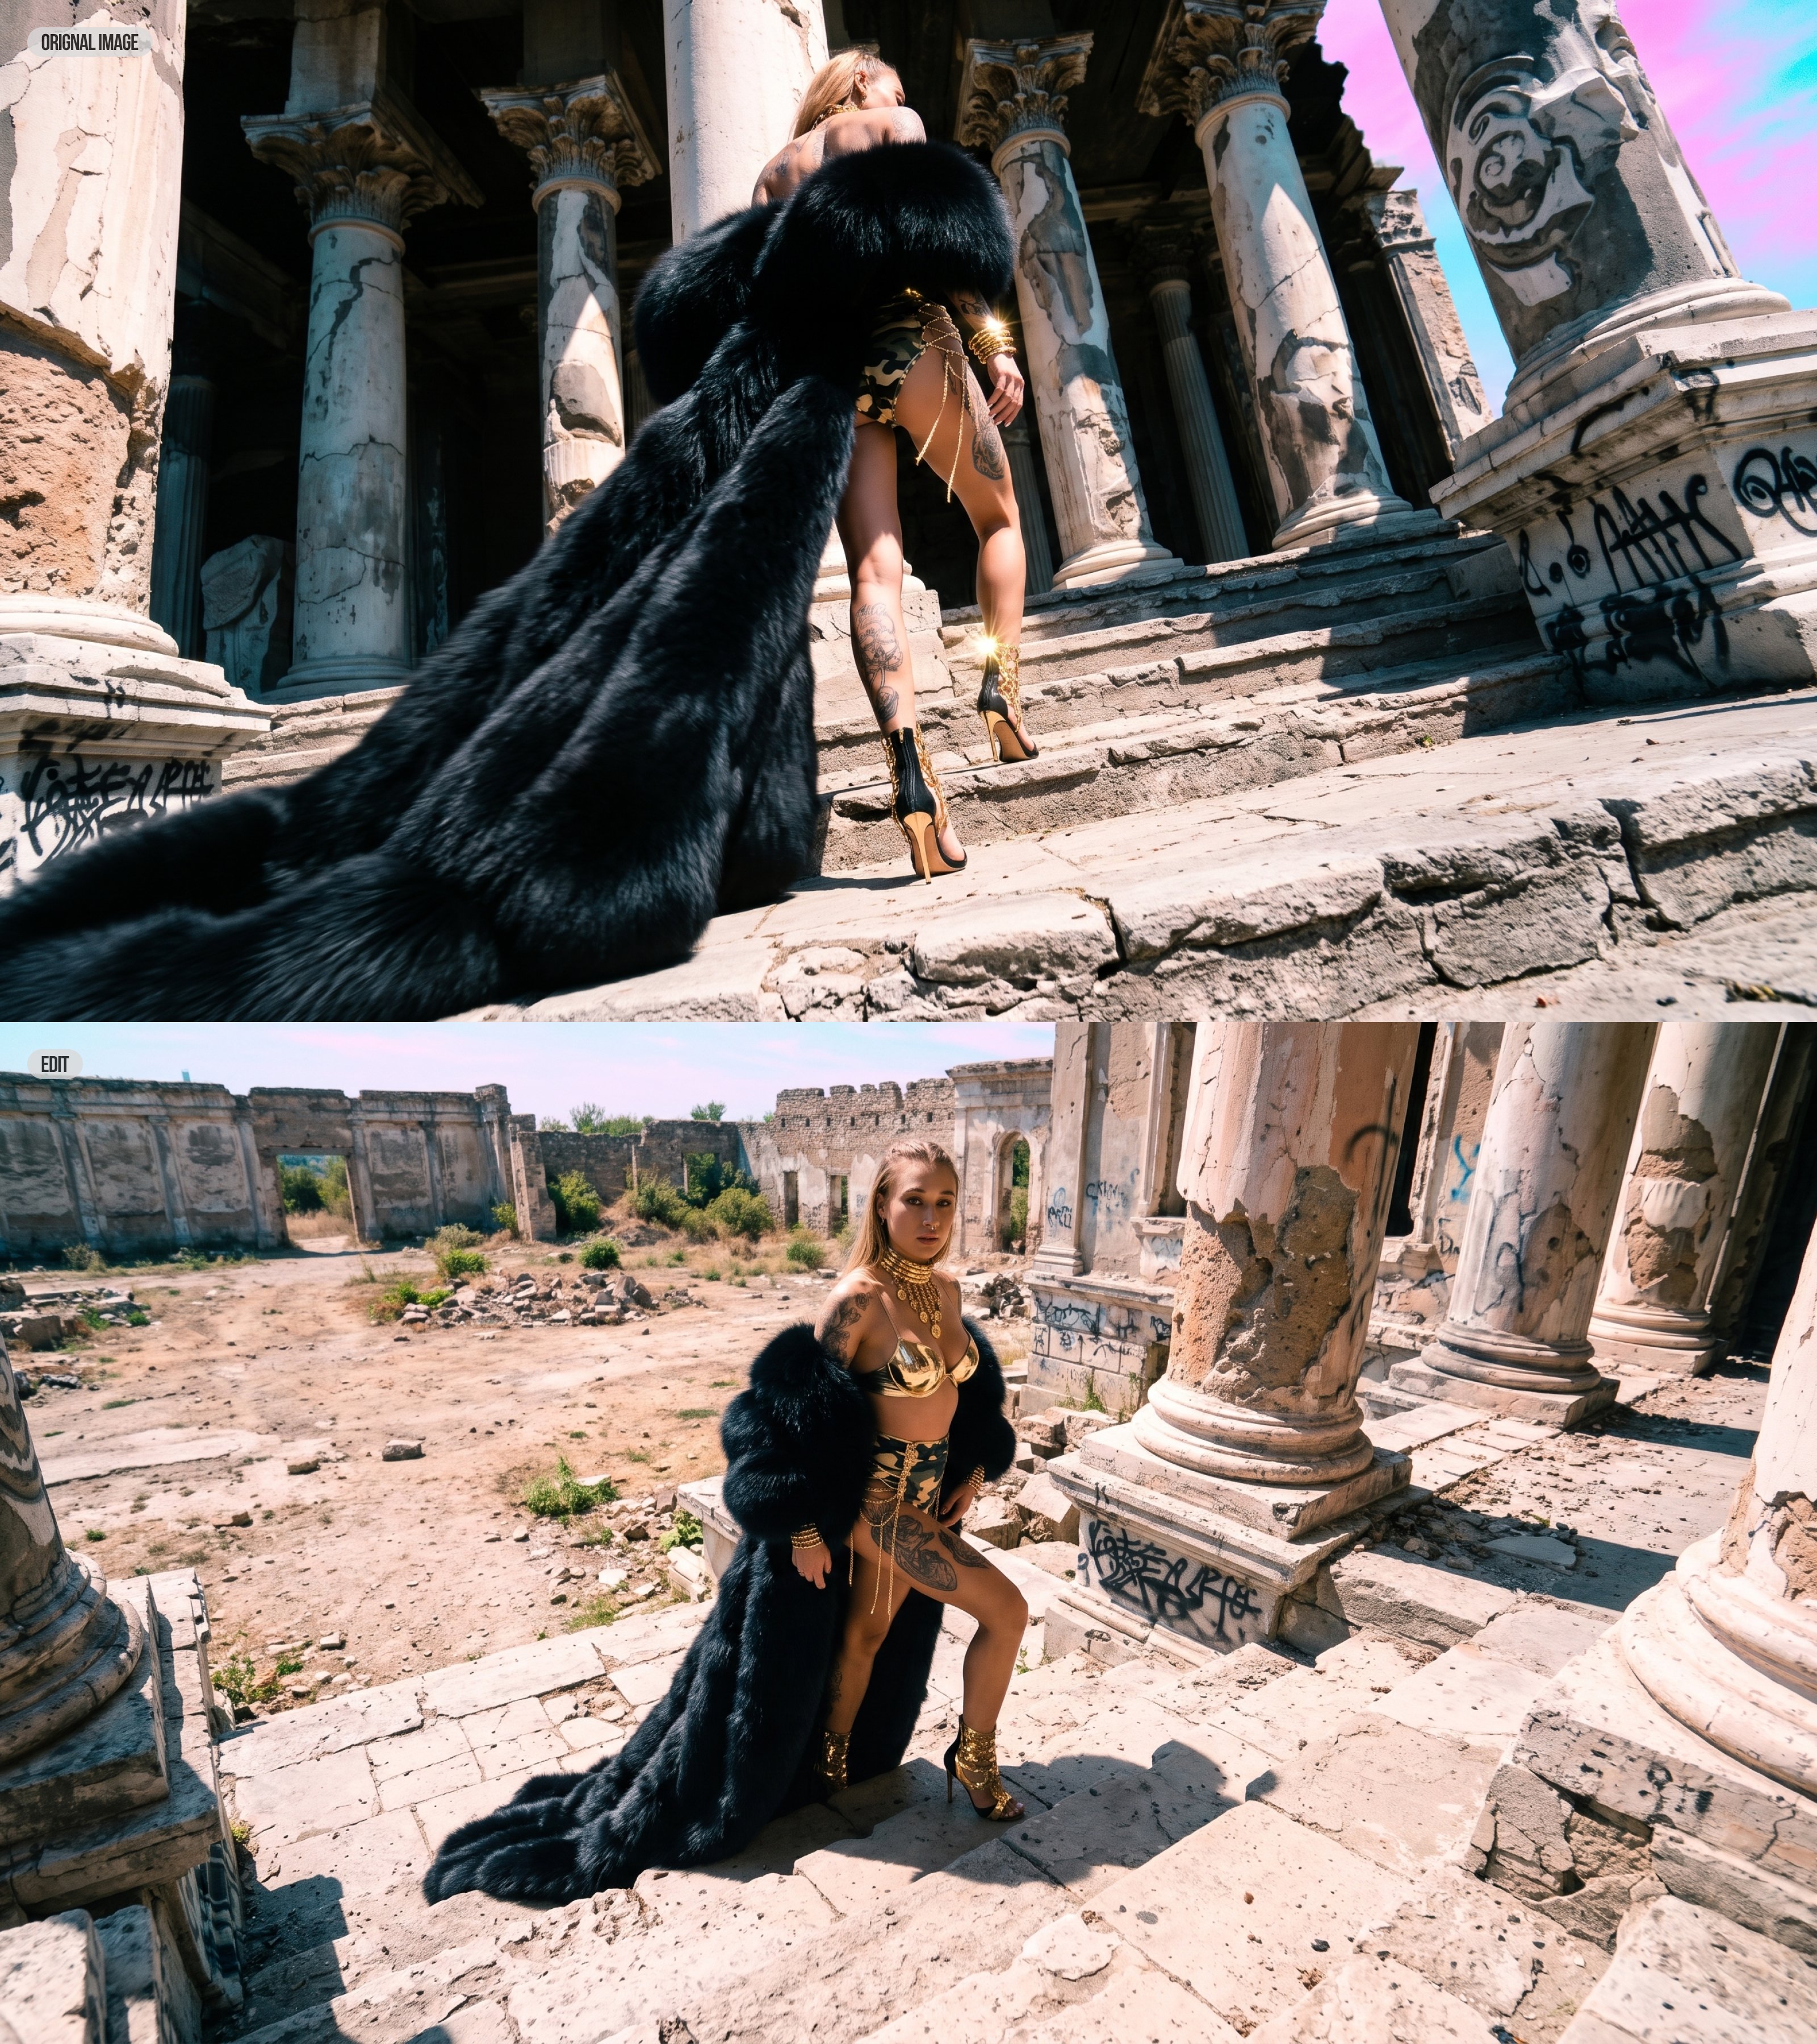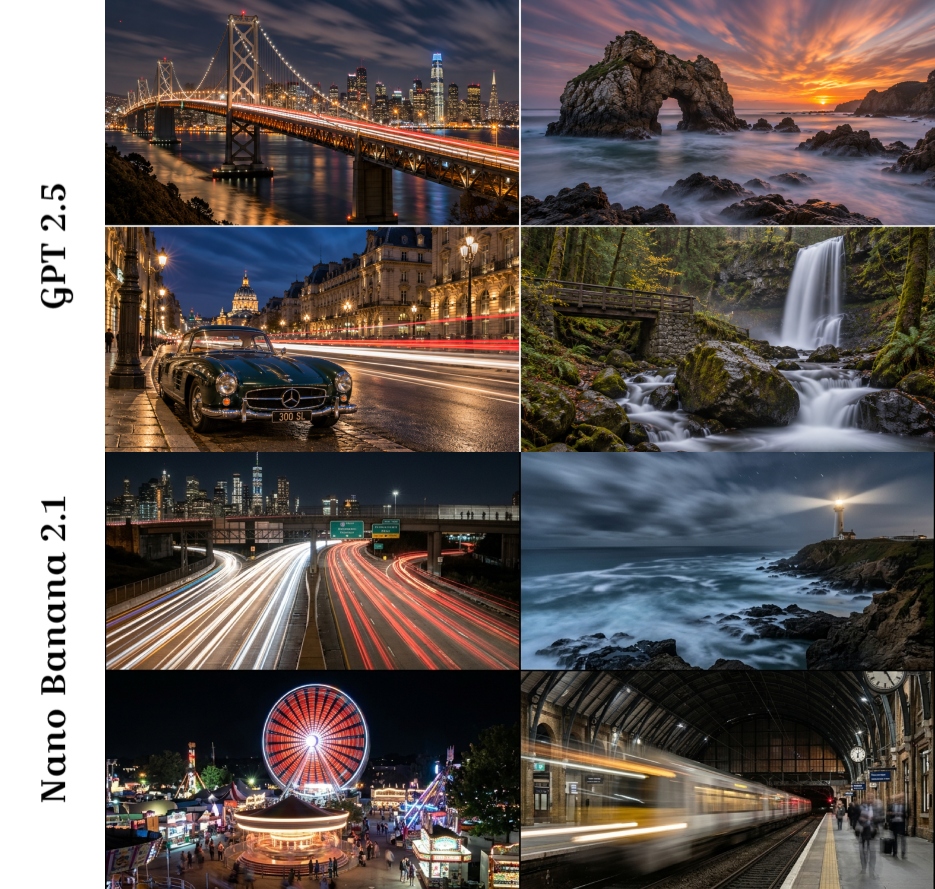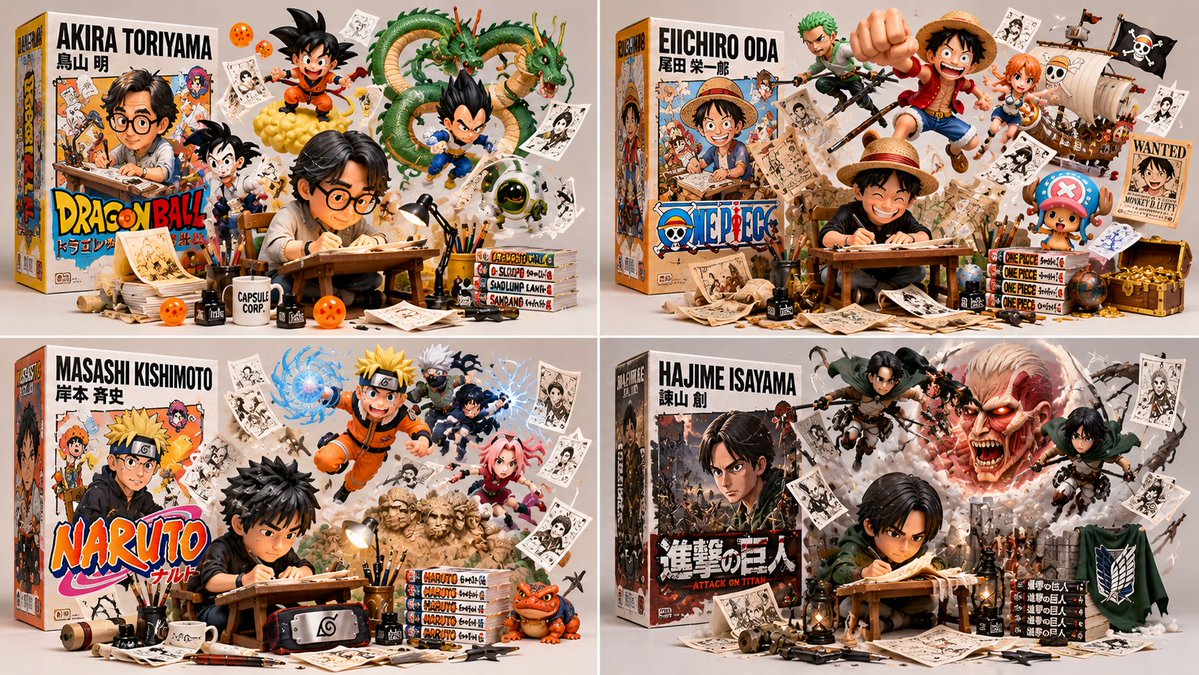
크리에이터 토이박스 디오라마 코드 프롬프트

class CreatorToyBoxDiorama: def __init__(self, CREATOR): s = infer(CREATOR) # 피규어, 박스, 탈출자들, 아티팩트, 프레젠트 self.s = s def render(self): return collectible_render( figure=vinyl_figure(self.s.figure, at=self.s.station, pose=WORKING), # B₁ box=retail_box(title=self.s.title, art=depicts(self.s.figure)), # B₂ escapees=[ burst_from(e, origin=self. s. box. art, into=SPACE, dynamic=True) for e in self.s.escapees ], # B₃ artifacts=suspended(self.s.artifacts, ground_contact=NONE), # B₄ studio=neutral_bg(soft_light=True, title_legible=True) ) # B₅ def verify(self, img): assert figure_at_craft(img) and toy_material(img.figure), "B₁: 사실적/정지 상태" assert box_present(img) and design_equal(img. box. art.figure, img.figure), "B₂: 불일치" assert len(img.escapees) >= 2 and all(origin_on(e, img .box. art) and body_outside(e, img. box) for e in img.escapees), "B₃: 박스 위에 정지" assert all(no_ground_contact(a) for a in img.artifacts), "B₄: 소품이 바닥에 놓임" assert neutral_bg(img) and legible(img . box.title) and collectible_quality(img), "B₅" CreatorToyBoxDiorama(CREATOR).render()
상세 정보
- 종횡비
- 1199:675
- 업데이트
- 2026. 10. 31.
이 프롬프트 사용 방법
- 1위의 복사 버튼으로 프롬프트 전문을 복사하세요.
- 2Google의 Nano Banana 2.1 또는 비슷한 스타일을 지원하는 이미지 생성 도구를 엽니다.
- 3프롬프트를 붙여넣고, 피사체와 스타일 키워드를 원하는 내용으로 바꿉니다.
- 4예시의 설정(1199:675 · Digital Art · Product Photography · 3D Render)에 맞춰 생성한 뒤 조금씩 다듬으세요——작은 표현 차이가 결과를 크게 바꿉니다.
자주 묻는 질문
이 이미지는 어떤 AI 모델로 생성되었나요?
이 이미지는 Google의 Nano Banana 2.1로 생성되었습니다. 페이지의 프롬프트가 생성에 사용된 원문 그대로입니다.
이 프롬프트는 어떤 설정을 사용하나요?
예시는 Nano Banana 2.1에서 다음 설정으로 생성되었습니다: 1199:675 · Digital Art · Product Photography · 3D Render. 같은 설정을 사용하면 가장 비슷한 결과를 얻을 수 있습니다.
비슷한 결과를 얻으려면 어떻게 하나요?
먼저 프롬프트를 그대로 복사한 뒤, 스타일·조명·구도 키워드는 유지하고 피사체만 바꿔보세요. 출력은 매번 달라지므로 여러 번 생성해 고르는 것이 좋습니다.
이 프롬프트를 수정해도 되나요?
물론입니다. 프롬프트는 출발점으로 쓸 때 가장 효과적입니다——묘사어, 화면 비율, 스타일 태그를 조정해 나만의 작품을 만들어 보세요.